
In Part 12 of my series on the making of the Wall-Saver safety cylinder, I discussed the mistake I made in plastic insert design and the correction of reducing the size of the retaning ridge.
So…now I had 7 good cylinder body molds, one good mold with 5 cavities for inserts, and a plan for post-casting machining to make all the specs come out right. Making 6 more insert molds took a couple of days, and then they could all be piled into the pressure pot at once. With 2 hours’ time between pouring and demolding, I could probably pull off 28 sets of bodies and inserts a day, and use the time in between pouring and demolding to machine the previous day’s parts.
Sort of. It turns out the polyurethane cures best in large masses and that the small inserts can’t be demolded in just 2 hours. They break if you try. They need at least 8 hours to be hard enough to demold, and longer before the mill can smooth the inside face. So there’s one obstacle.
The other obstacle, which has only been partially solved, is the incredible length of time it takes to make brass. Each brass part took about 10 minutes of work, possibly slightly more. Obviously that is performed in batches, so that one action can be repeated over and over, but it simply took time. I did discover that part of my problem was using a dull tool; once it was replaced with a new one the time required was cut by a factor of 5 (!). But that’s still 10 minutes of brass machining per cylinder, which is a fair amount.
There are several possible solutions to this—get the lathe working, which would speed things up a bit, or outsource to a machine shop, if one can be found with reasonable rates. For an order of 10,000 parts, that’s viable, but for 1,000, it’s too expensive. For the time being it’s a roadblock.
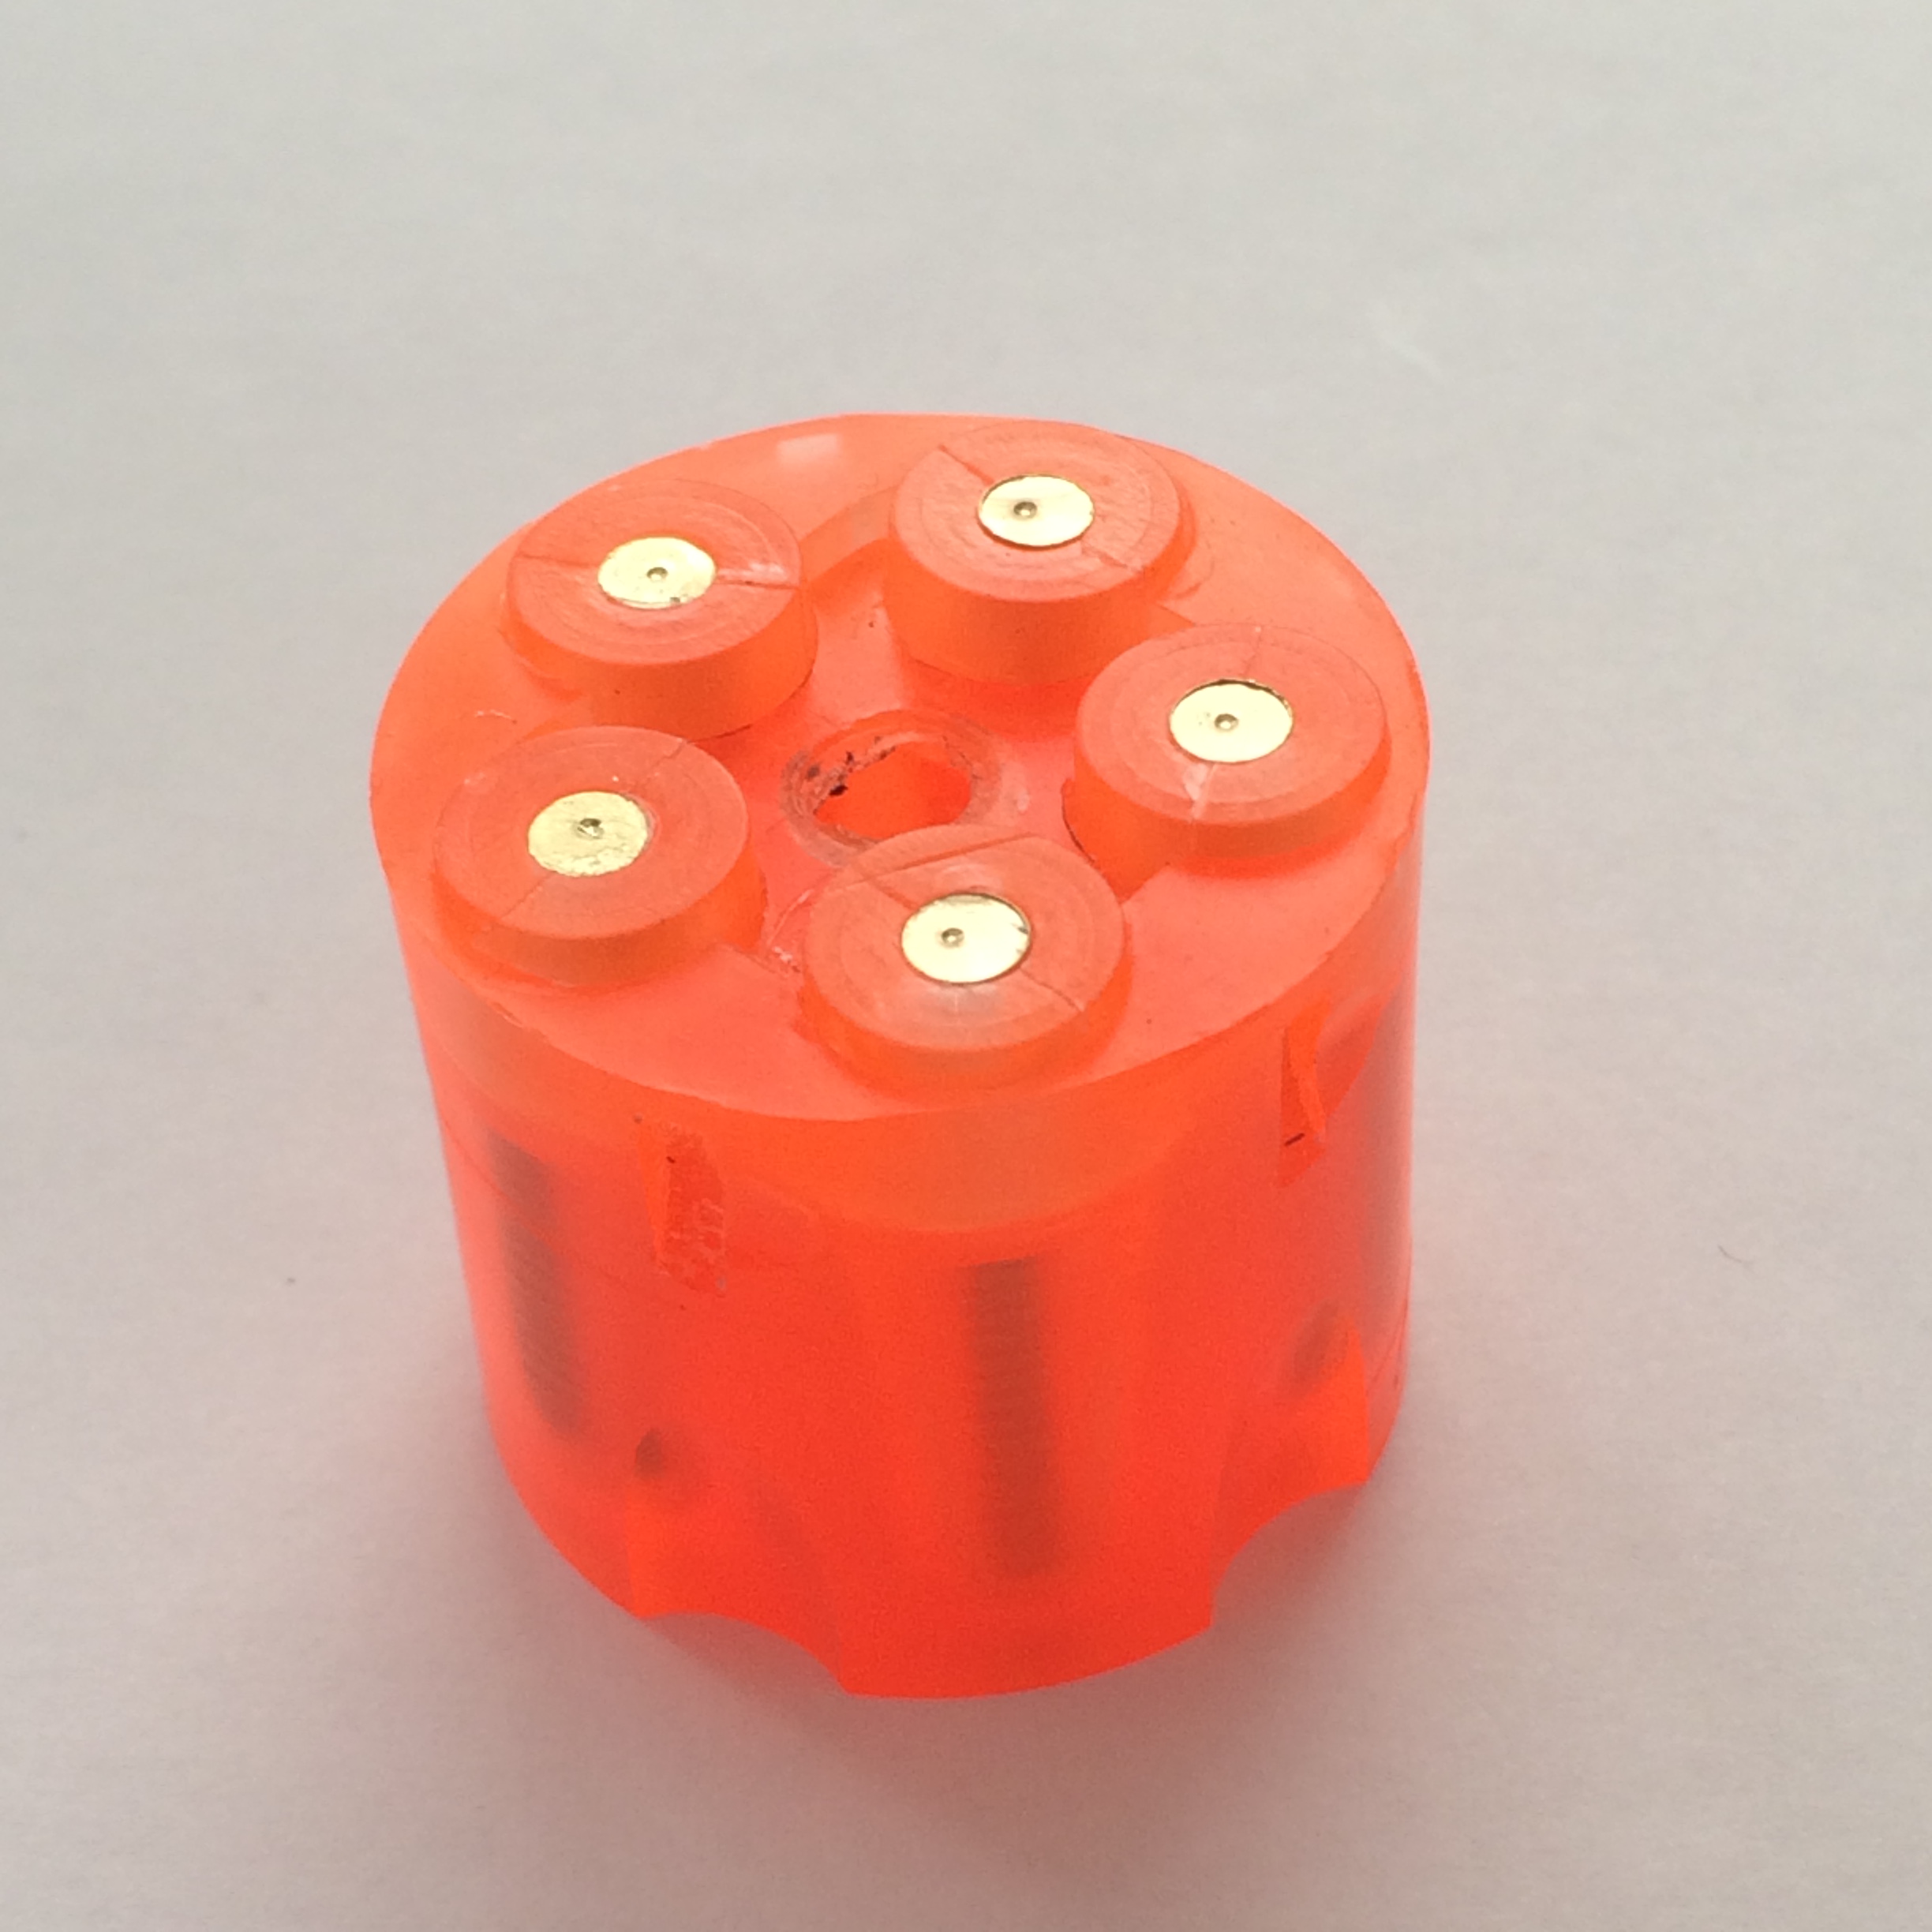
That said, when there’s enough brass, the process was pretty simple. Each cylinder body was allowed to cure for a couple of days, then the chambers were checked for size with a go gauge. Undersized chambers are known to occur and they make it impossible to insert the brass and plastic. Once a cylinder is approved, the top face was machined flat with a flycutter. Then the center hole was made in a two-step process, first drilling and then boring with a ¼” endmill. Finally the D-hole for the extractor rod was trimmed by hand; there is some variation and it is designed a little small so that it will never be too big.
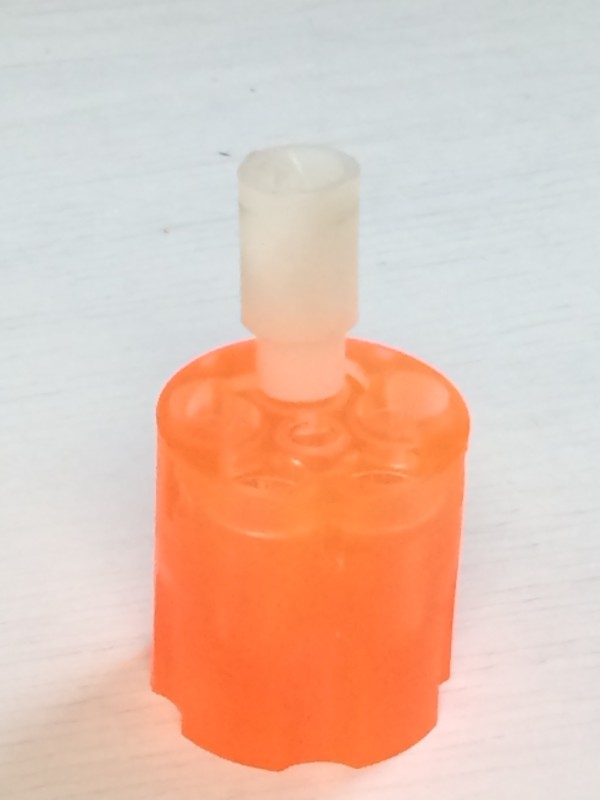
The plastic inserts, after a similar curing time, got their inside faces machined flat. Then springs were inserted into each chamber and pushed over the 1/8” knob at the bottom. A brass plunger was test-fit into a plastic insert, then pushed into the center of the spring. The machinist’s vise was then used to press the plastic insert into place. Repeat 5 times and add a screwdriver bit and you had a completed Wall-Saver safety cylinder.
Almost. This process works…a little over half the time. The rest of the time, at least one (and usually it’s only one) of the inserts will pop back out. The other 4 can’t be forced out without cutting into the cylinder, but that one—it won’t stay. The reason is that the polyurethane just isn’t very resilient. The retaining ledge gets sheared a bit as it goes in, and while for most of the inserts (over 90%) it’s not a problem, the others either push themselves out far enough to interfere with the rotation of the cylinder (you can think of it as insufficient headspace), or else come all the way out. And of course, you know that a single cylinder doesn’t collect all those defects—it’s always 1 chamber per cylinder, meaning that even with a 90% success rate for inserts, there’s a 40% reject rate for complete cylinders
I discovered this during a week-long manufacturing binge that happened AFTER I had started shipping to customers. Aw, crap, now what?
Leave a Reply